Connector Quick Start
Start Connector
Unpack the distribution and run the start script located in the installation bin directory.
LINUX
./connector
WINDOWS
./connector.bat
Login to Connector
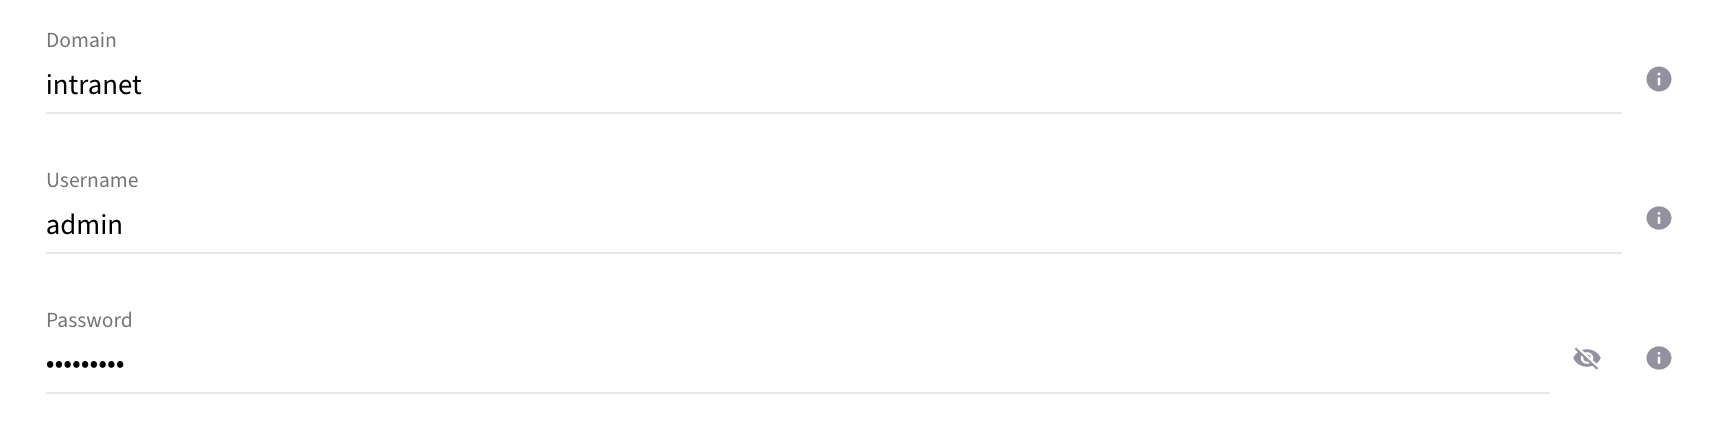
Once the Connector has started, navigate to the Admin UI and login with the default username and password, admin/admin:
Configure Connector
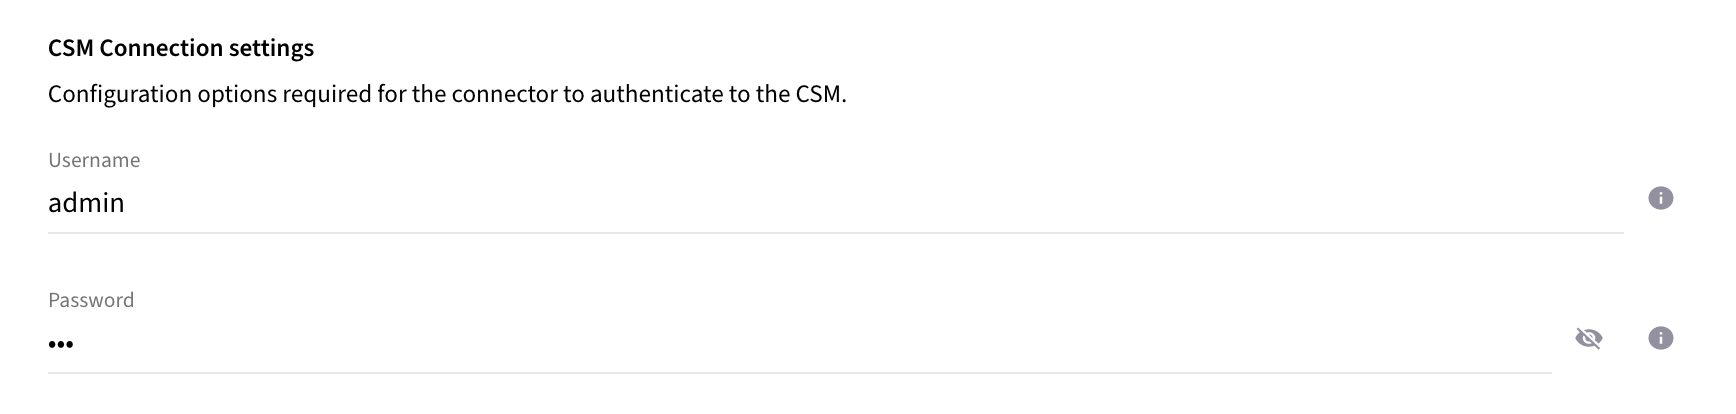
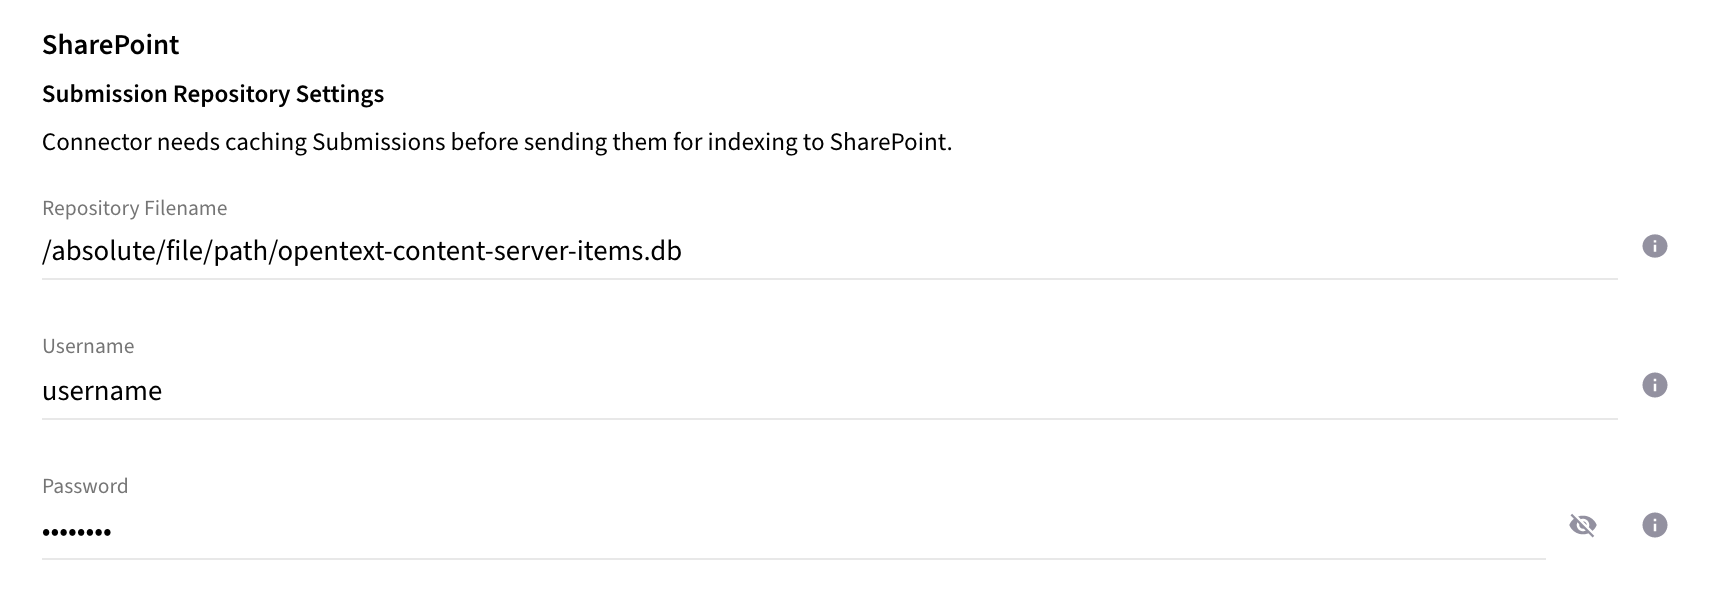
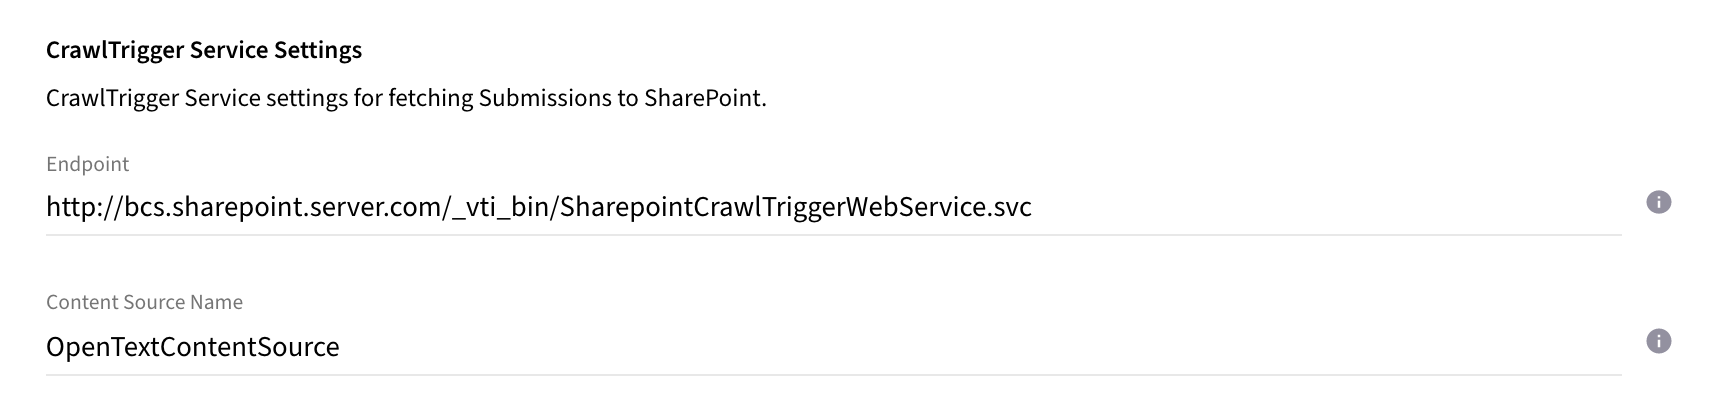
Follow the description and instruction in the Basic Configuration Menu to configure the mandatory settings.
Microsoft SharePoint Online Configuration
In order to traverse Microsoft SharePoint Online, the following properties need to be configured via the connector UI:
-
The application ID of the Azure app created via the Azure Portal
-
The tenant ID to which the application belongs
-
The certificate which was configured for the Azure application
-
The password of the certificate


Upload License
-
Contact Raytion and obtain a license for your connector
-
Login to the Admin UI
-
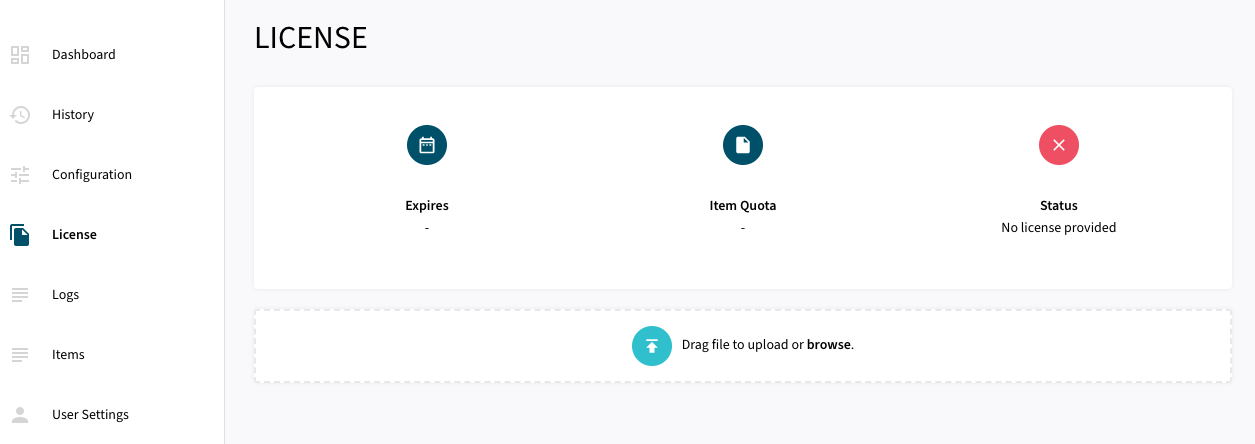
Select License in the menu:
-
Upload the license file by browsing for the file or simply dragging a dropping the license onto the license page
-
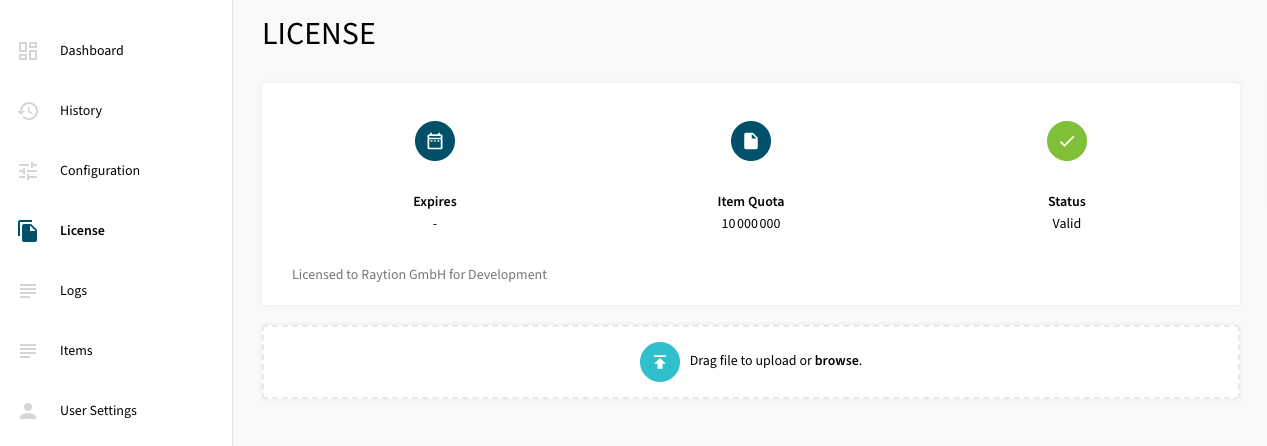
The Status of the license will be displayed as valid, and the expiration and item quota will also be displayed:
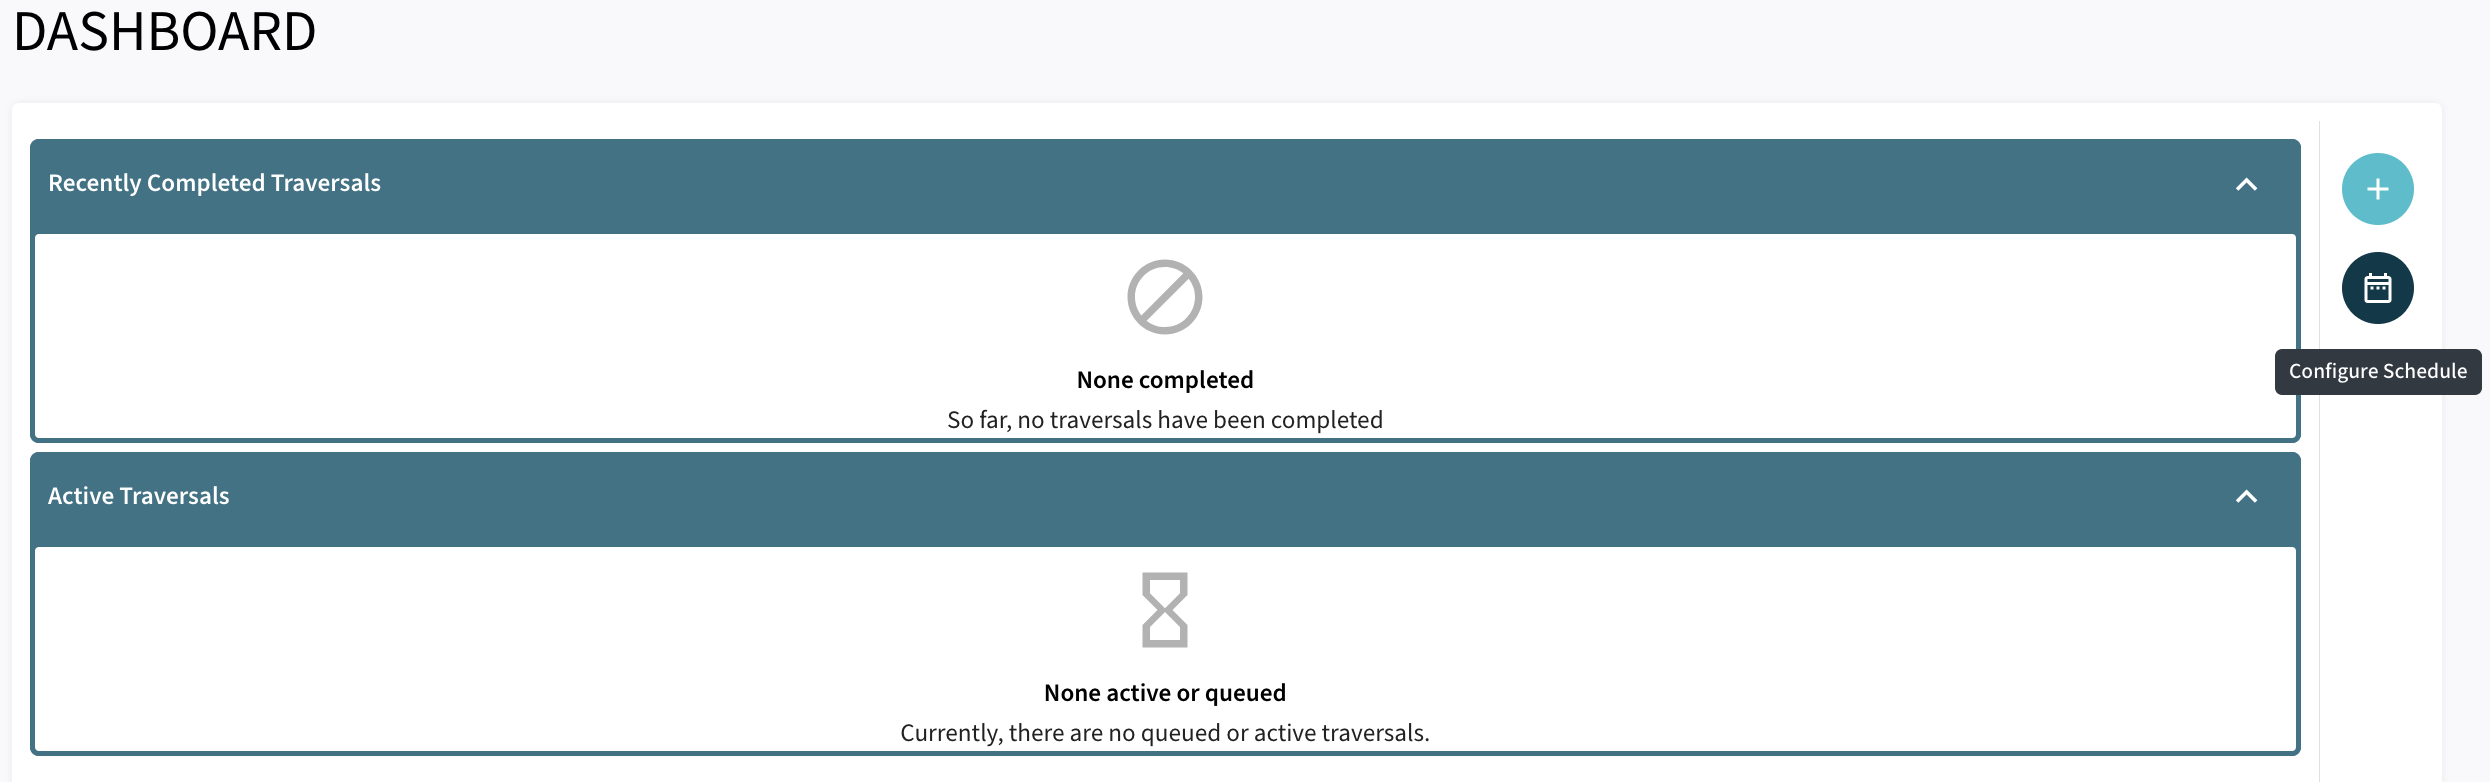
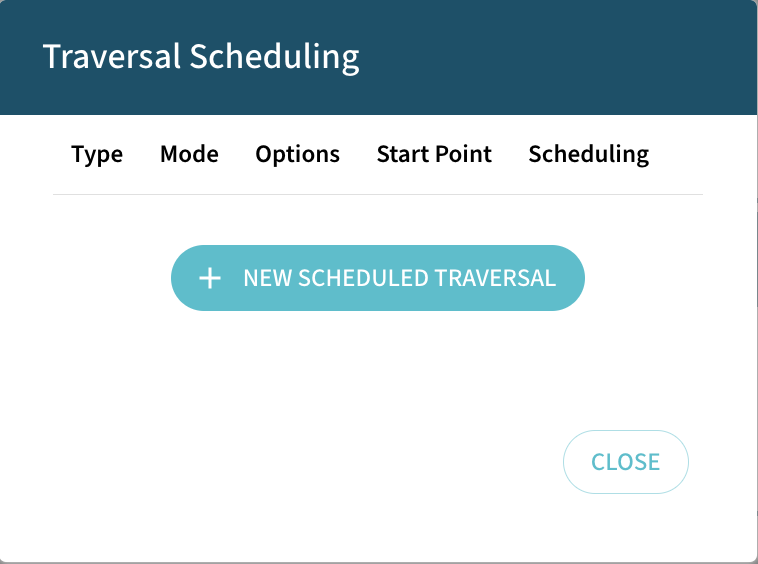
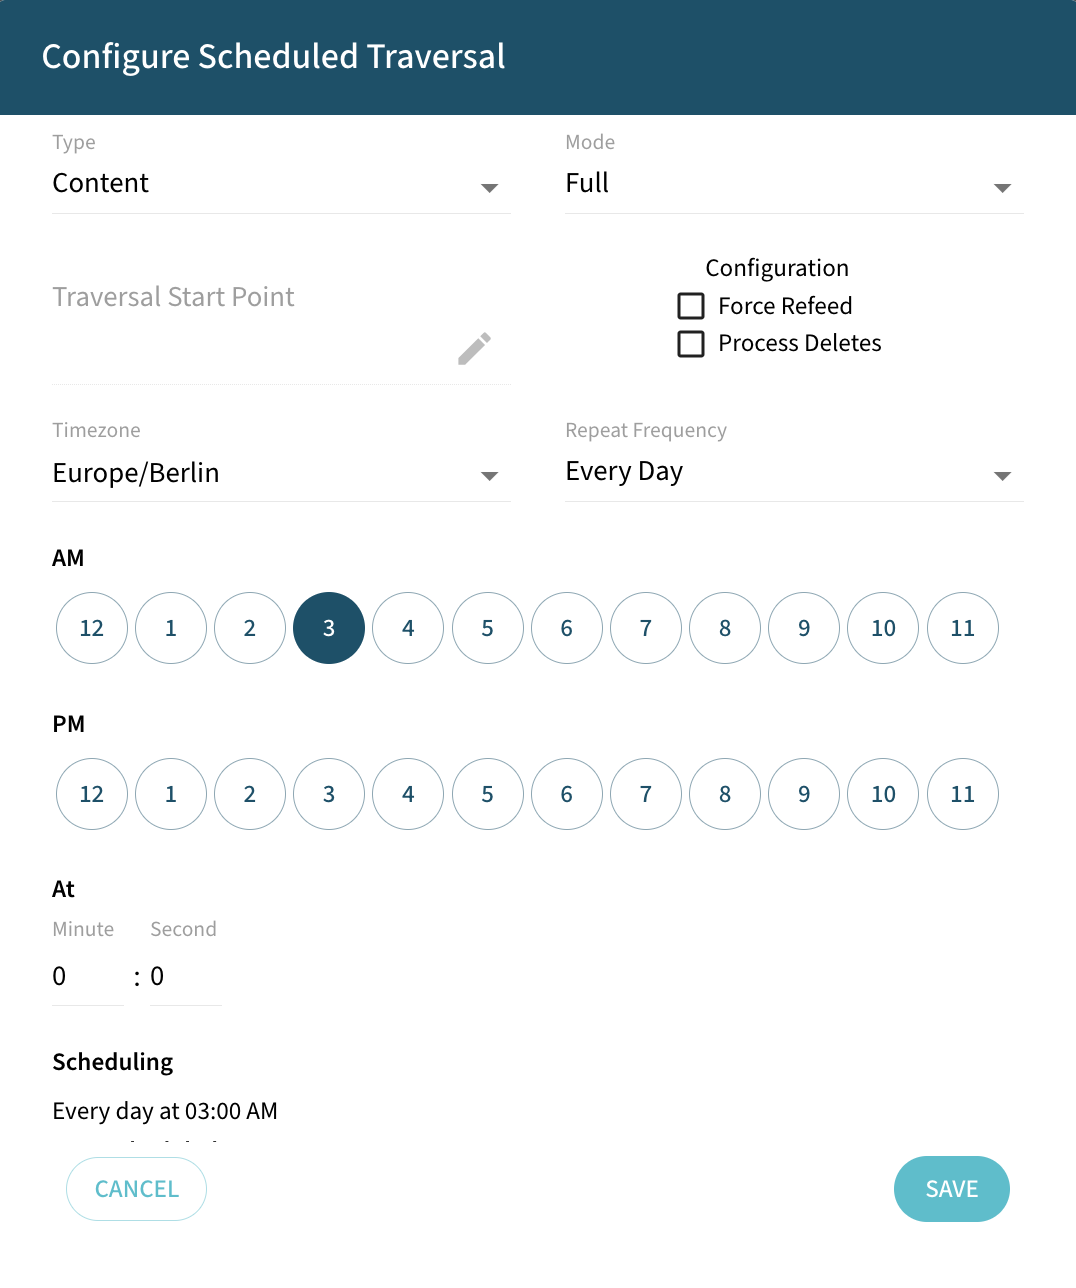
Synchronizing Data
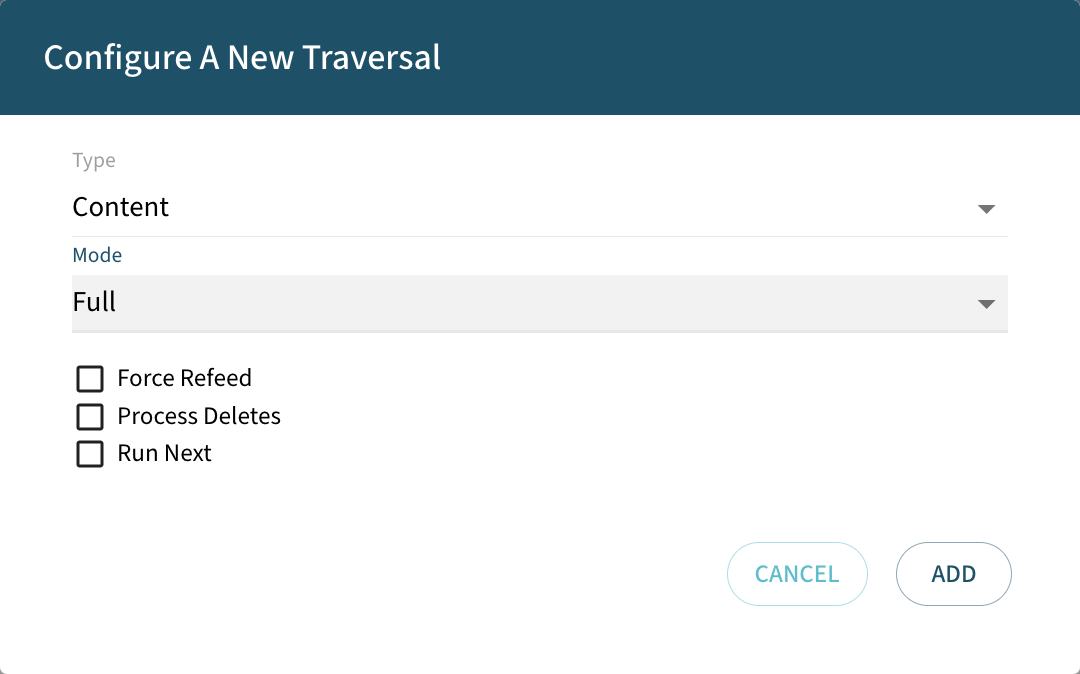
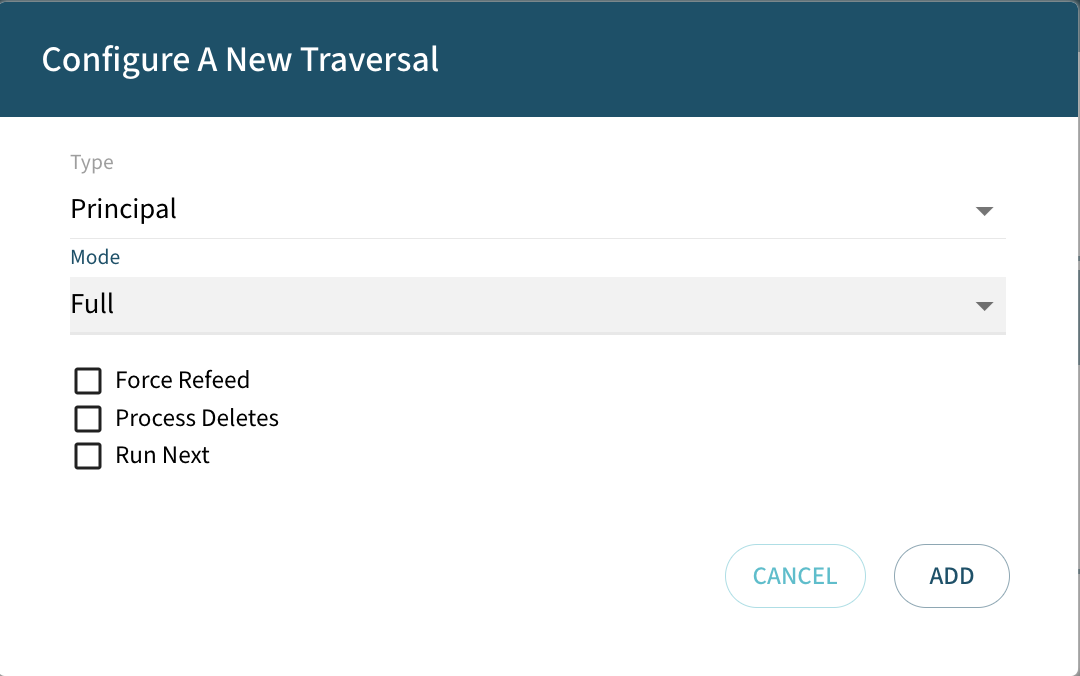
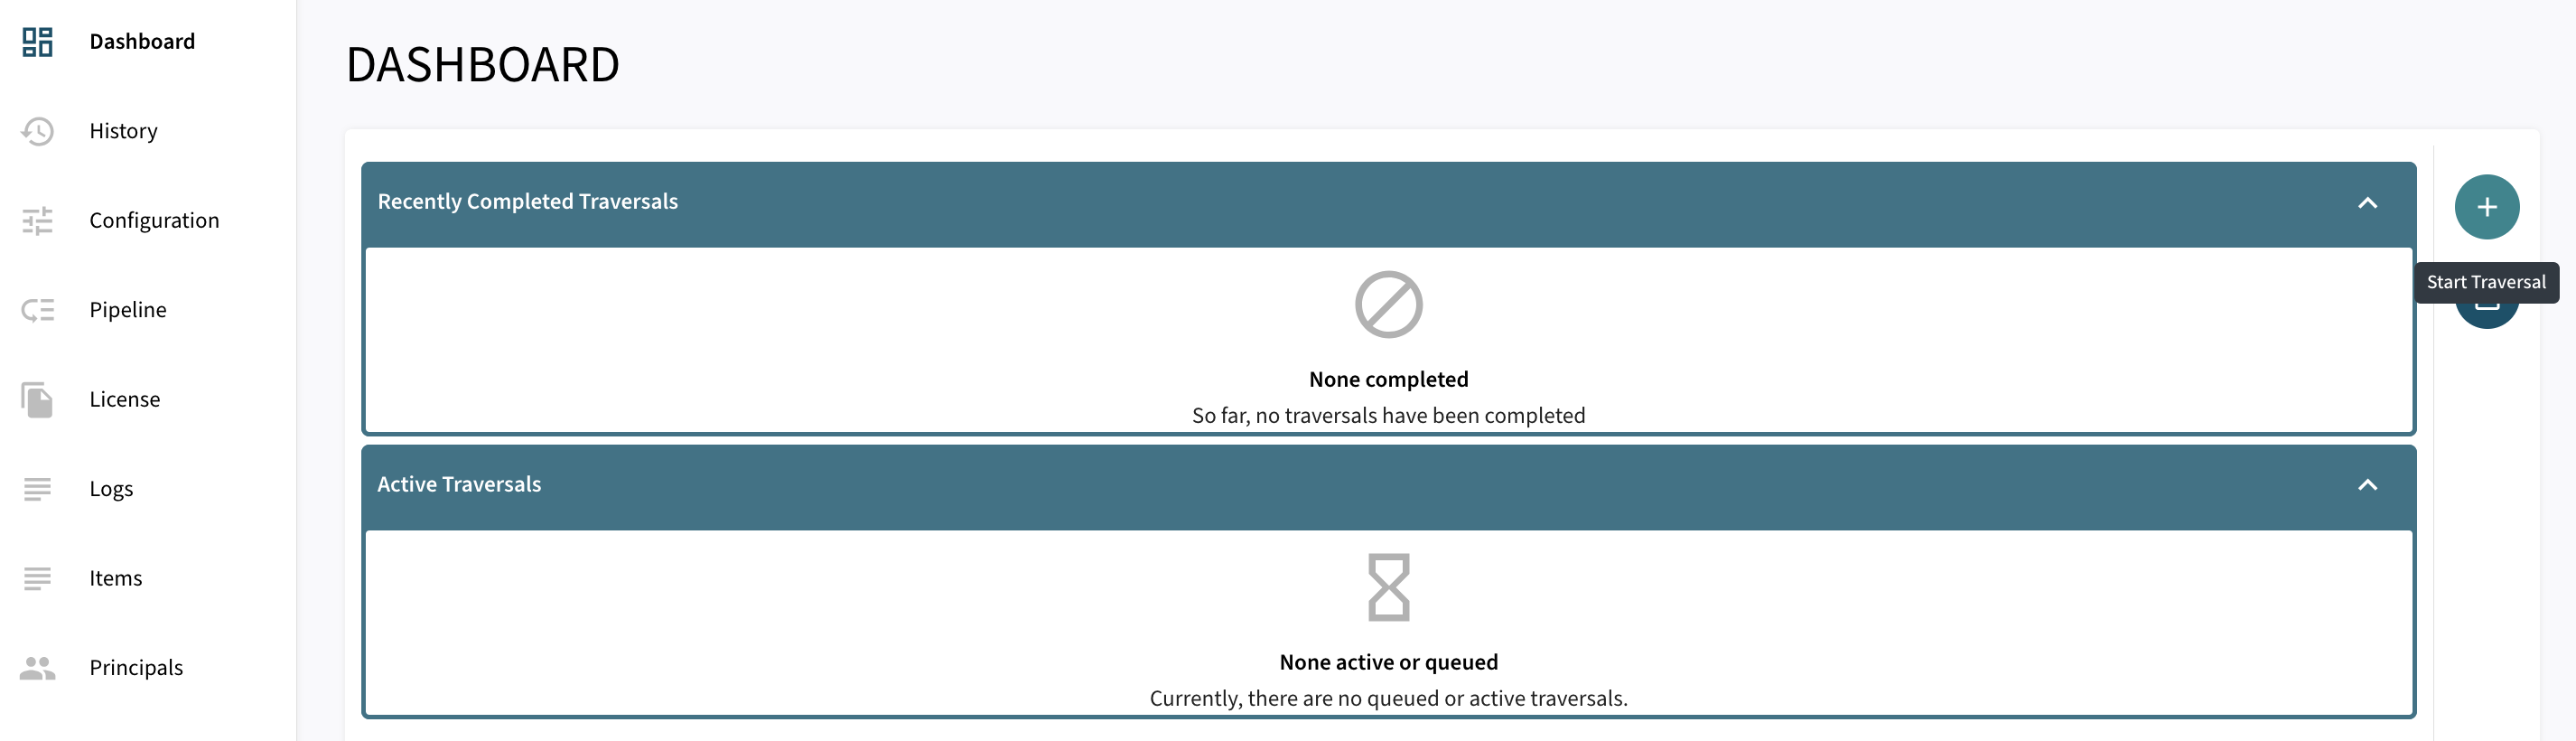
Once the connector is configured and the license uploaded, you can start synchronizing data using the traversal feature in the dashboard.
There are 3 options for Synchronizing:
-
Force Refeed Toggles if previously discovered traversal items that haven’t changed should be fed to the search engine.
-
Process Deletes Toggles if deletions should be fed to the search engine.
-
Run Next The traversal will be prioritized over other traversals without this flag in the queue.